

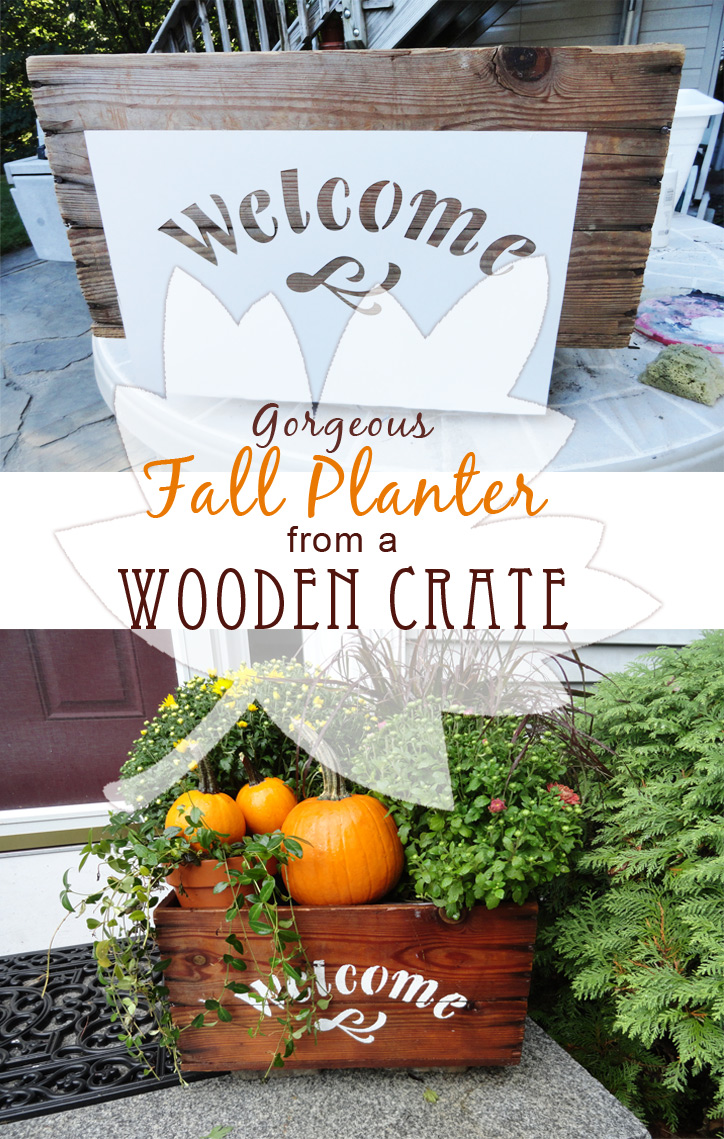
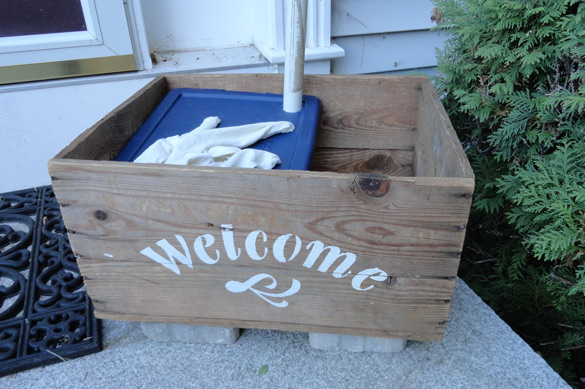
I am so excited. This is my favorite project so far! An old wooden crate turned into a self watering planter – and It turned out amazing!
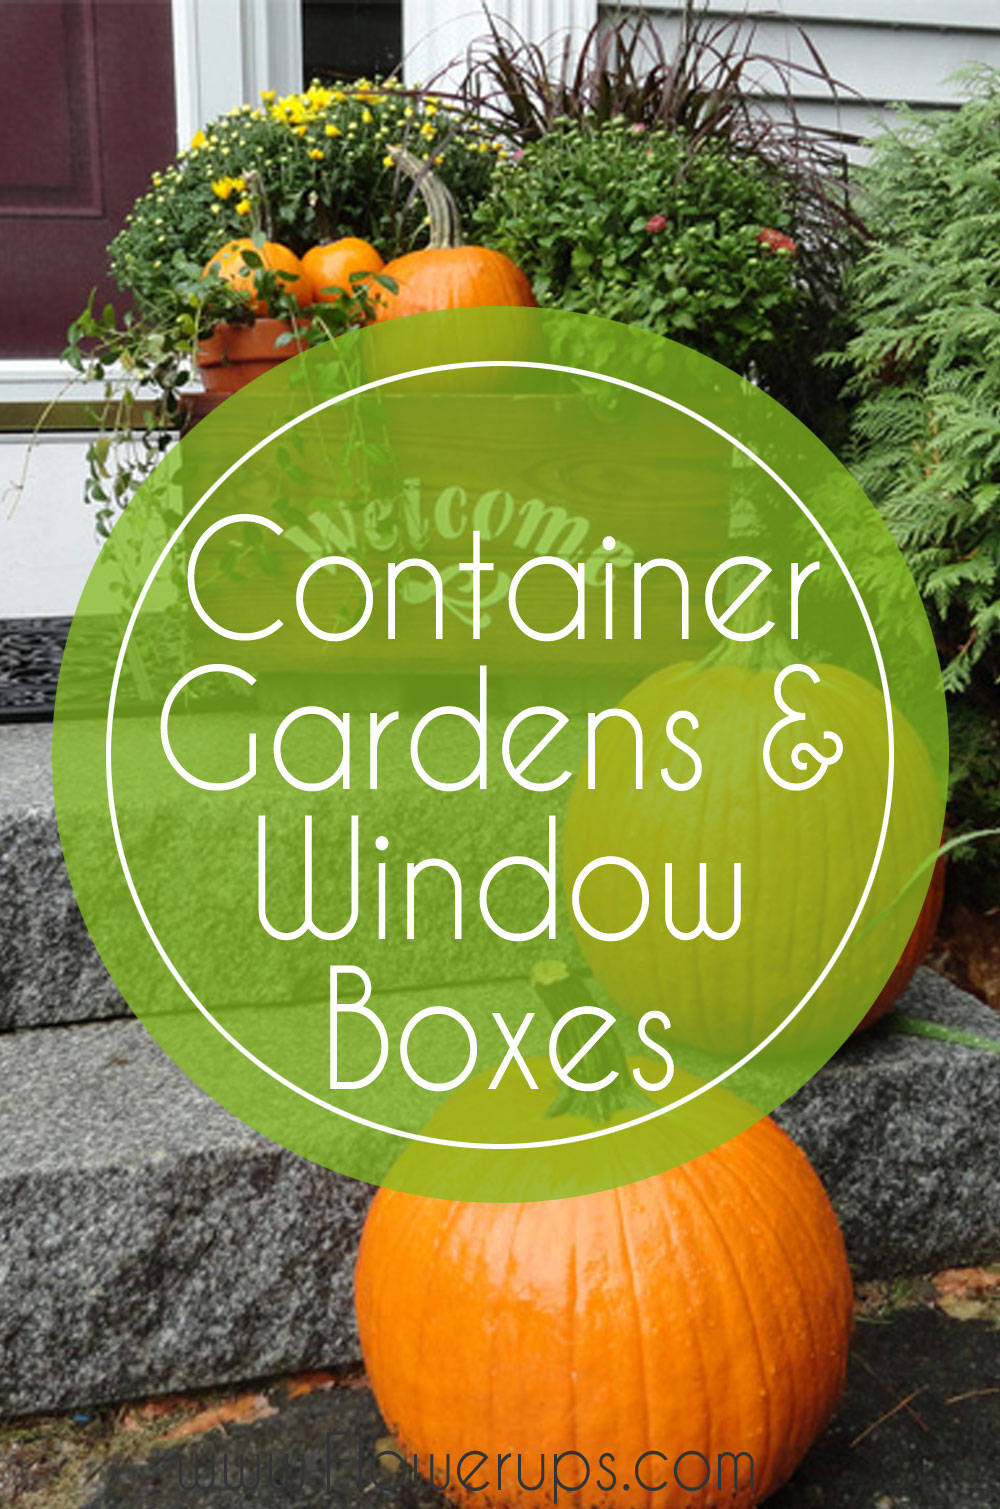
I was looking for a creative garden ideas for a fall planter. My old planter was really old, cracked and pretty awful. Also, doing research online (read… hunting on Pinterest) I started learning about successful planter combinations. There are so many lovely window boxes and combination planters, I wanted to try!
However, we don’t have any window boxes, and no real place to install one. So, doing to “shed shopping” I found this old crate in my shed. Get this, I was using it as a box. To hold stuff. Crazy.
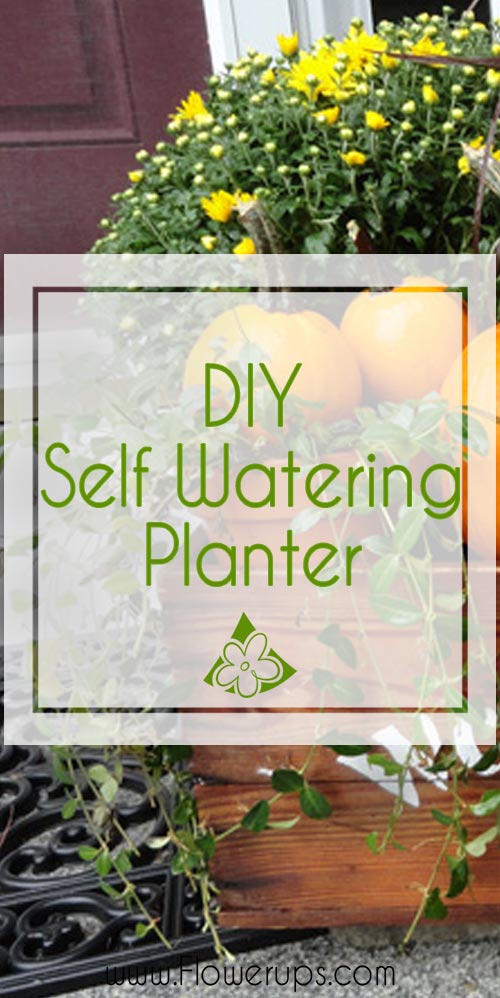
So, I pulled it out and decided to try my hand at making a self-watering planter that would hold several plants.
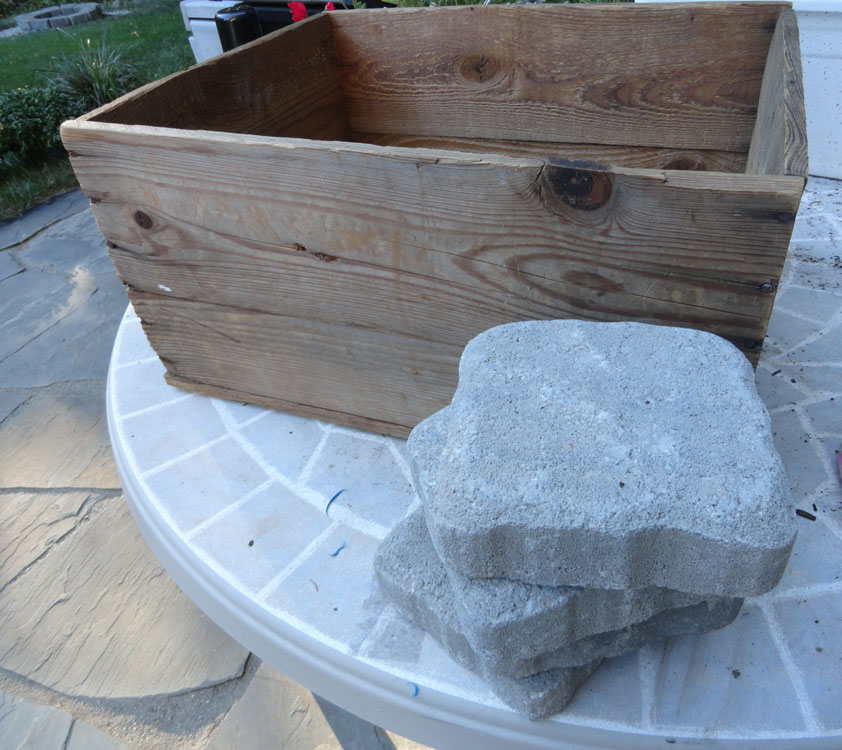
First, I collected 4 small pavers to raise the crate.

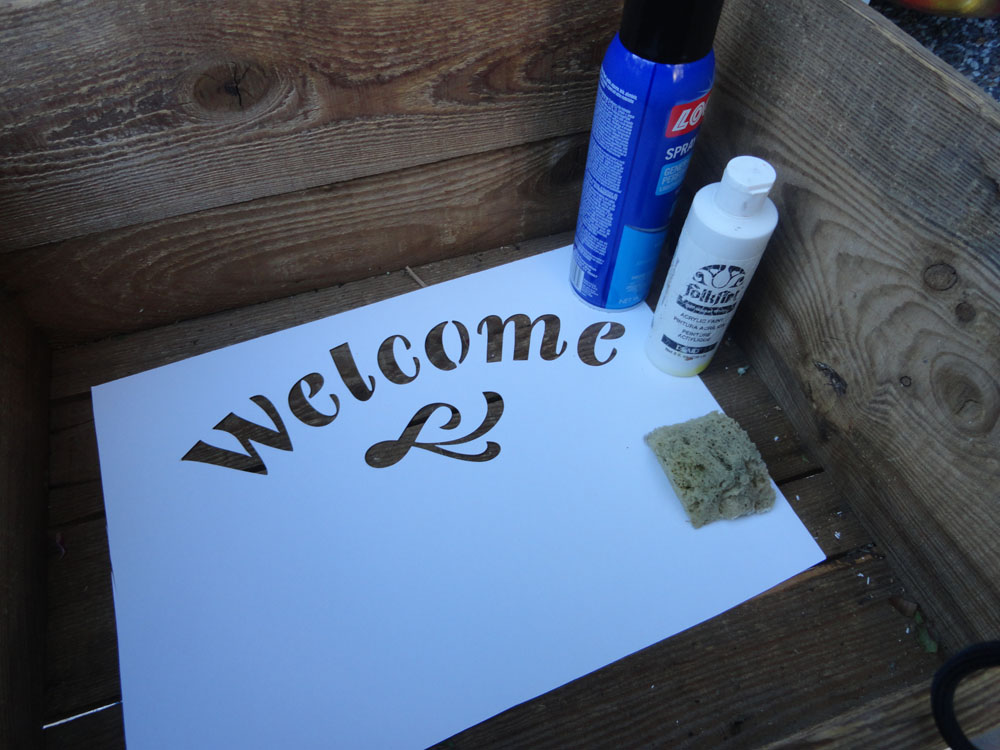
Then, I wanted to stencil it to make it more personal. I made this stencil with my most amazing Klic N Kut Cutting Machine. Seriously amazing – I can make any stencil I want now!
I made the stencil with some cheap poster board from Dollar Tree. When cut, the stencil was then attached to the crate with Loctite Spray Adhesive – which can be used as a re-positionable, temporary adhesive.
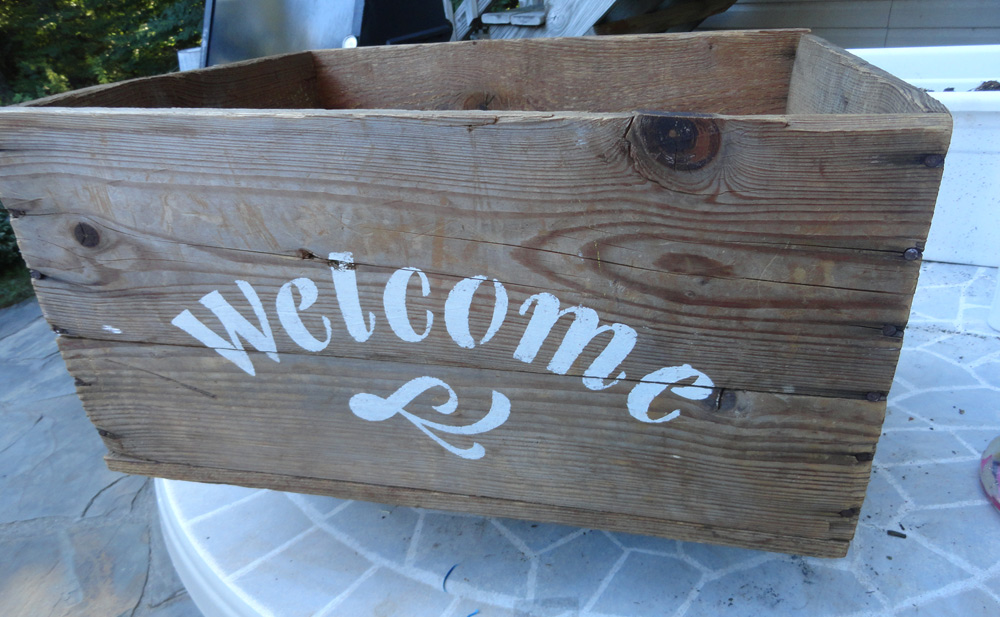
Then, it was stenciled with white craft paint and a sponge. So cute – I love how rustic it looks!
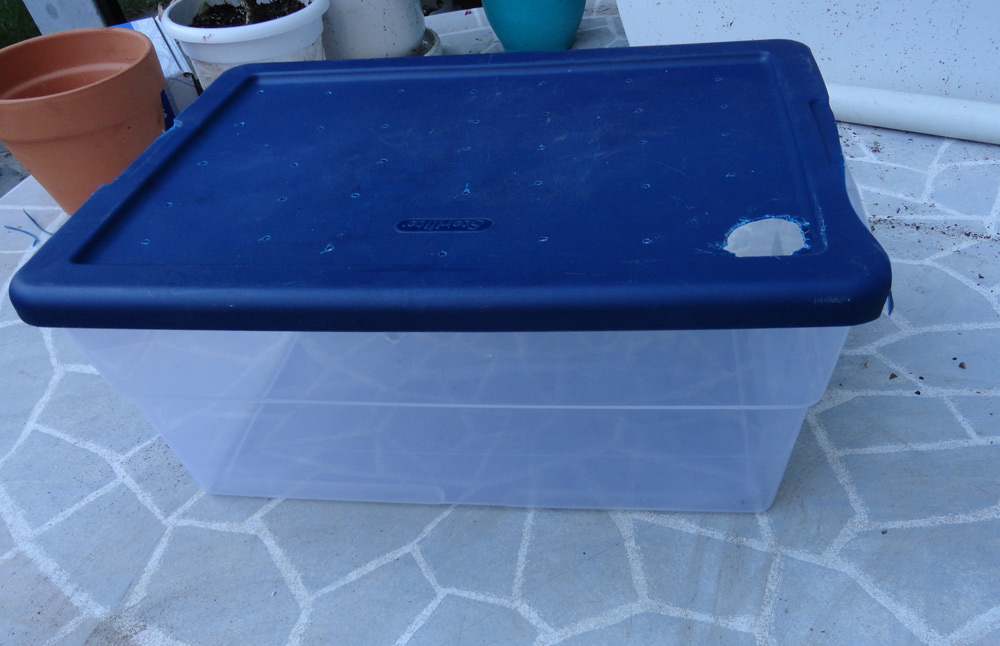
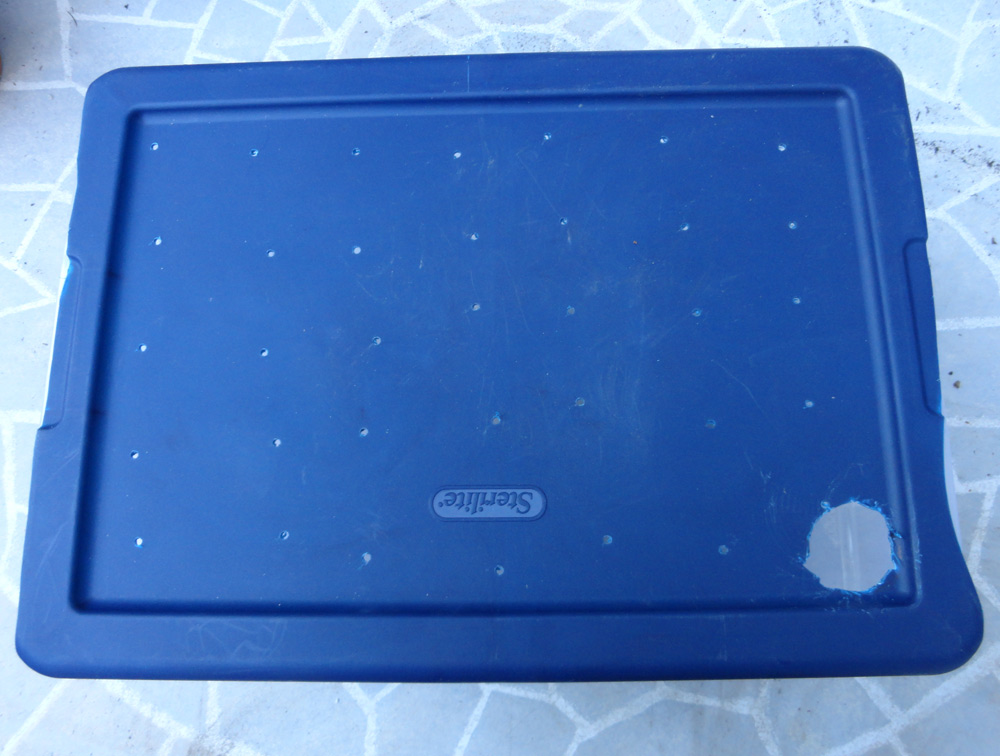
Next, I took an old storage container that fit into the bottom of the crate. I drilled several holes in the cover for aeration. This keeps the water in the container aerated, and hopefully prevents it from getting stagnant. One large hole was added in the cover for the watering tube.
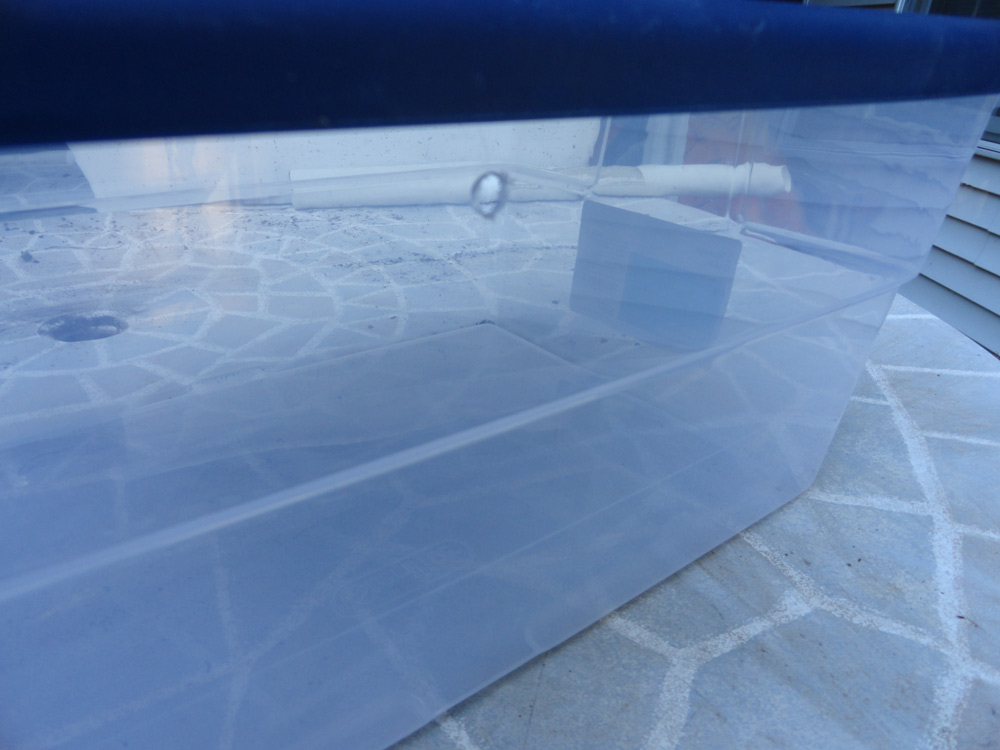
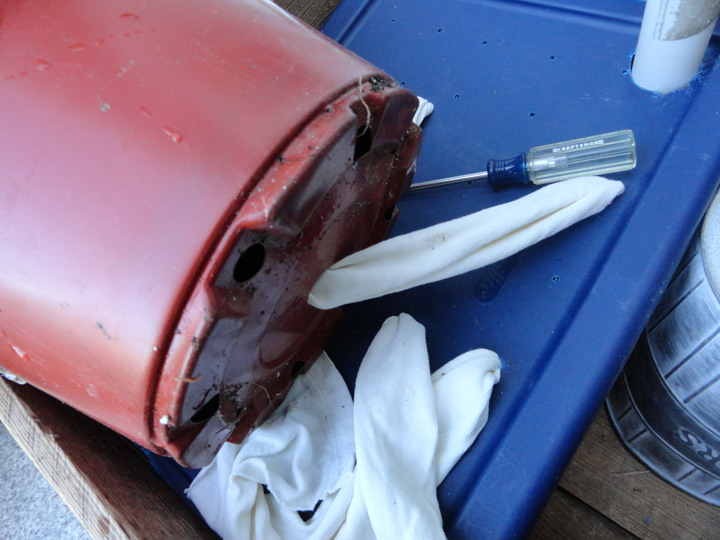
Then, I drilled a hole in the top of the side for drainage. When the container is full, it will top off to the level of this drainage hole. This hole should be much bigger than the hole shown above. I found this did not drain the water quickly enough, and the container tends to overflow completely.
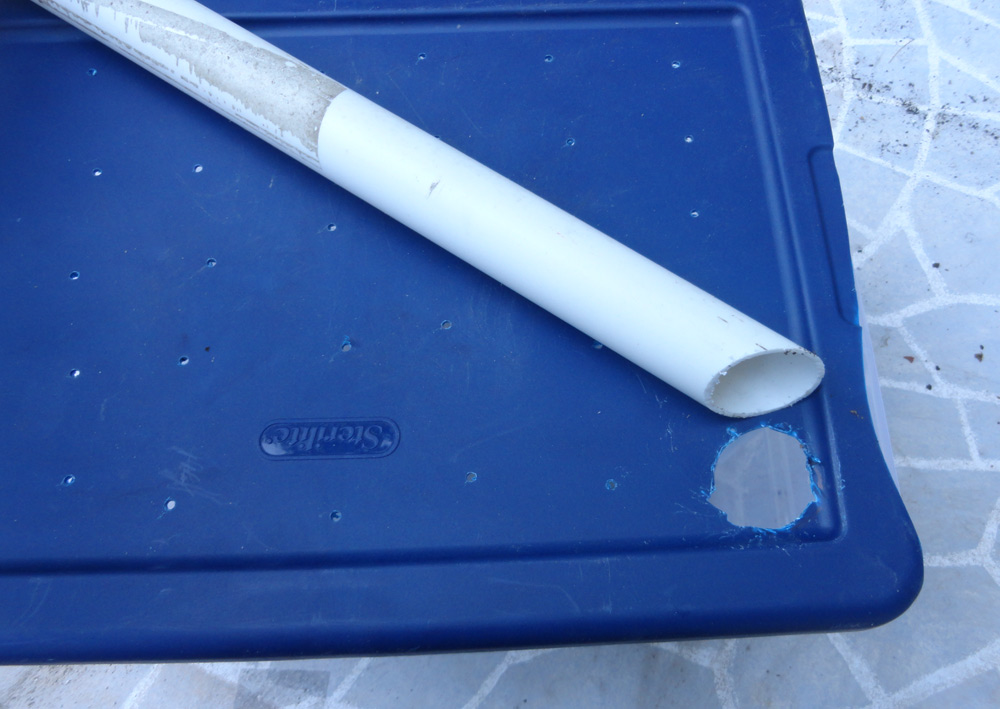
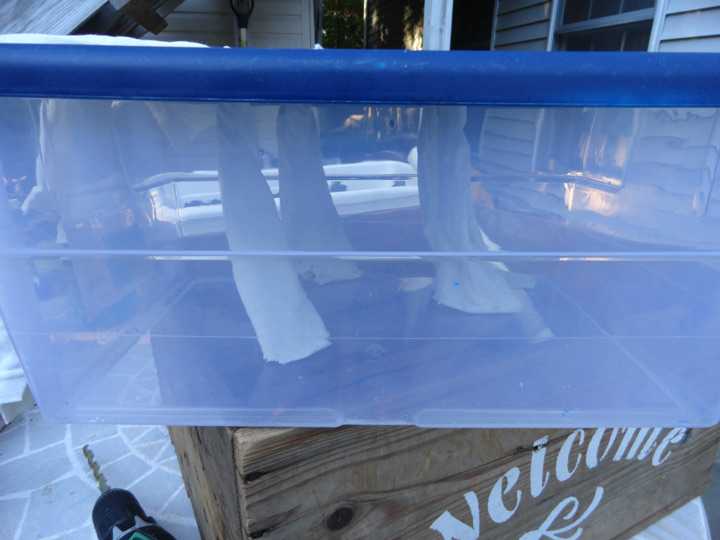
Next, I found an old piece of PVC pipe in the garage. The bottom is cut at an angle, so that when it is placed in the container, the water can be added through the pipe and into the container.
The picture above shows how the pvc pipe fits into the water container.

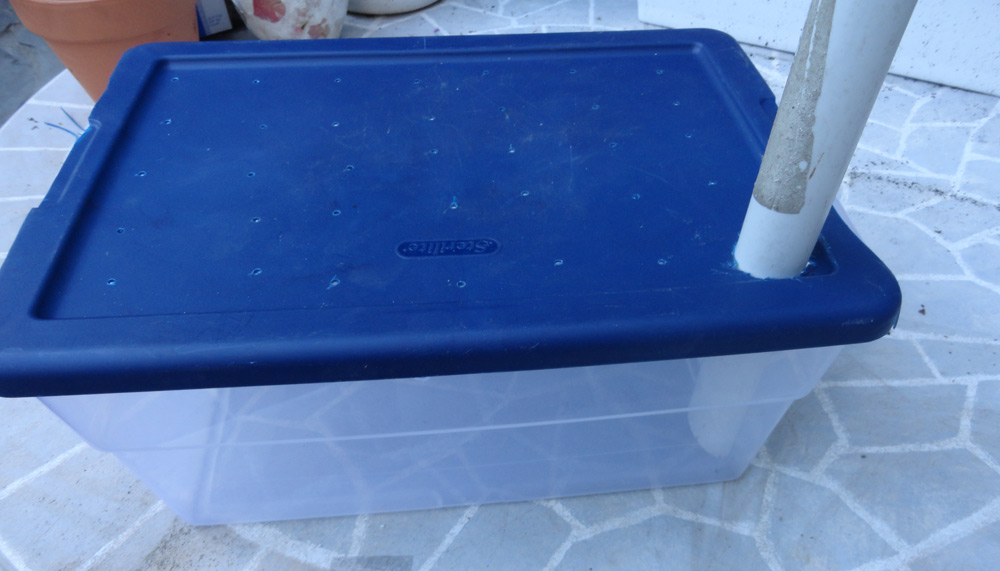
Perfect fit! The water container fits nicely into the planting container.
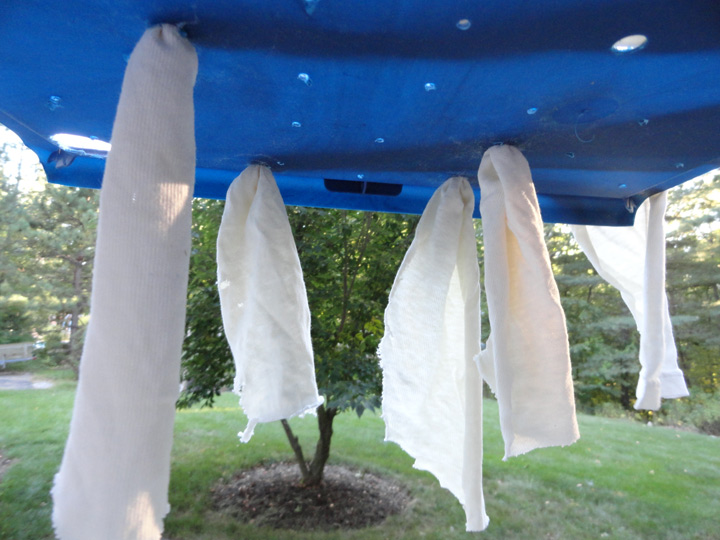
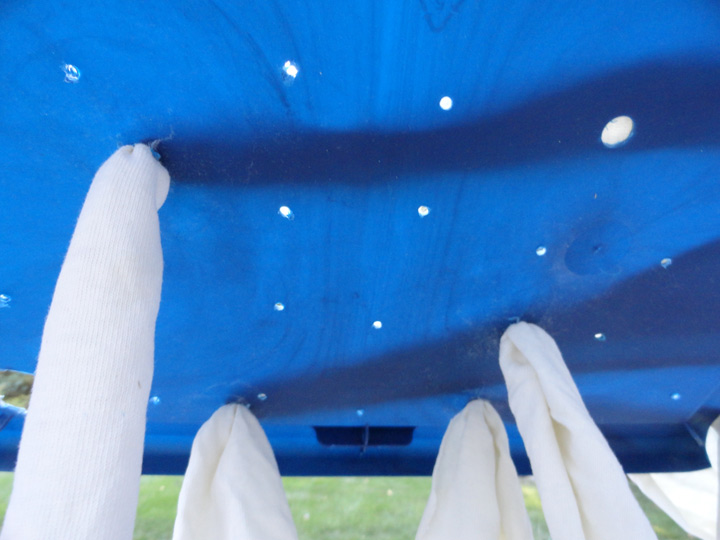
Next, we need wicks to make the self-watering planting container! The wicks are to draw the water from the water container to the flower pots. To make the wicks, I cut up an old t-shirt, drilled some bigger holes, and poked the wicks through the holes.
The wicks need to be threaded through the holes, and they need to reach all the way to the bottom of the water container, as shown below.
Below is shown the beginning of the planting container set up. The crate is set on the four paving stones. Then, the water container with the wicks and filling tube is set into the crate.
The wicks are then inserted in the flower pots by poking them in with a small screwdriver.
Next I added the flower pots – 2 9-inch mums, a decorative grass, and some vinca from the garden. This vinca has been my bane – I first started planting it many years ago as ground cover in a spot in my garden. No matter how much I planted, it refused to spread. Absolutely refused!
So, I gave up, and pulled out all the vinca and planted something else. Apparently I missed one, because now my garden is full of vinca! So, I know that this vinca will absolutely never die, since it is all descended from one amazingly hardy plant!
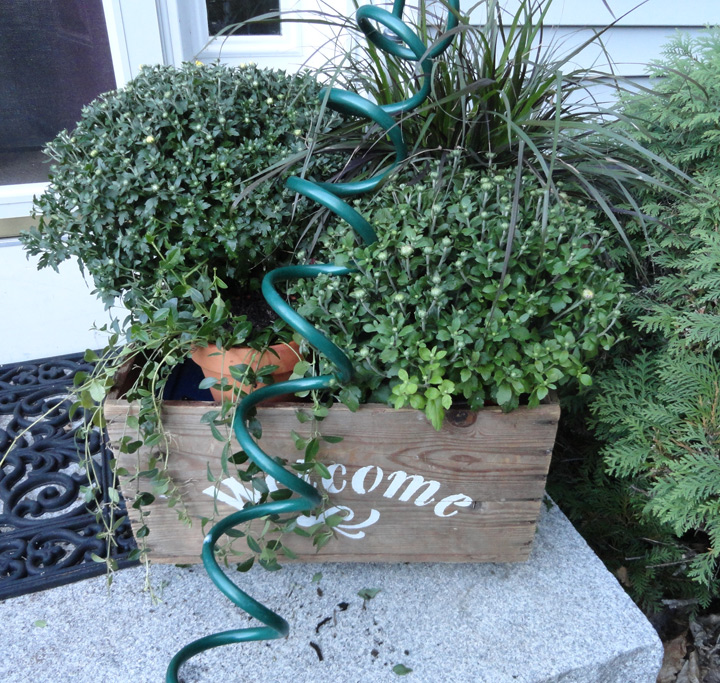
And, the container garden is done! Here is the planter (container garden) all set up. It is so easy to fill with the filling tube, as shown above!
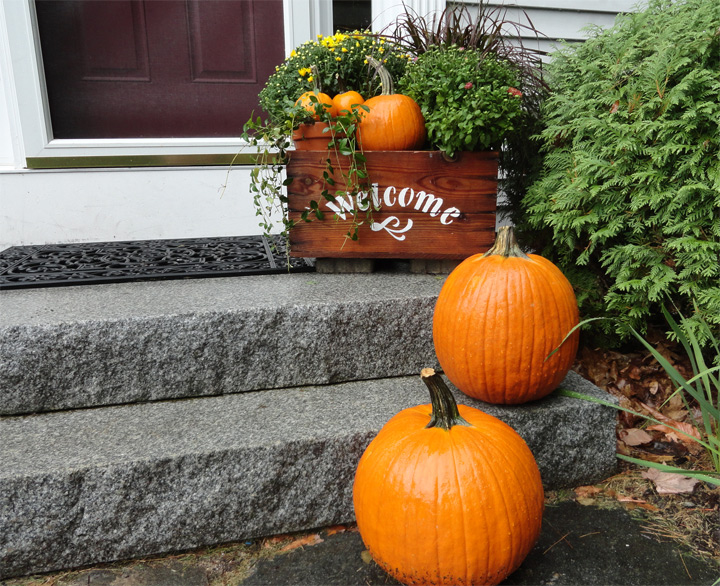
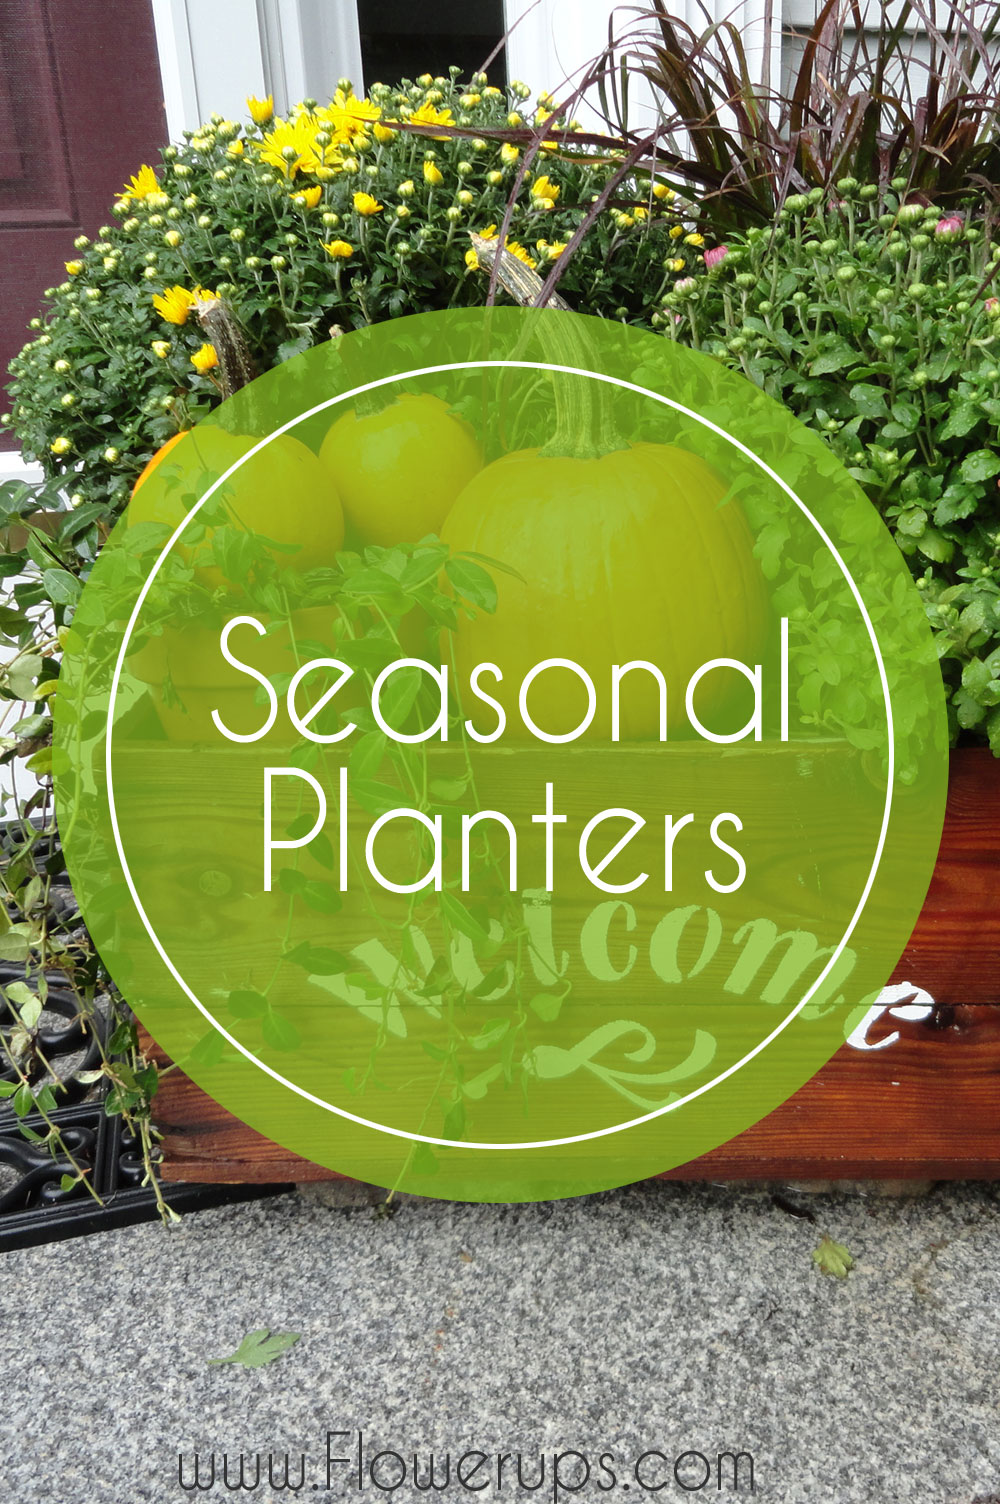
And, here is the final planter, all ready for the Fall, with pumpkins and mums!
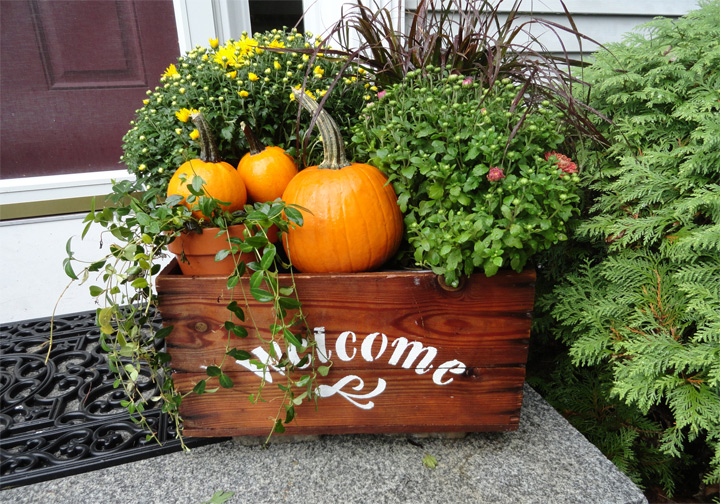
The real beauty of this container garden is that the plants can be switched out easily by season, without replanting the plants. They simply set in the box, in whatever arrangement you wish!
Diane
Very creative! Thanks for sharing this idea.
Flowerups
Thanks!