

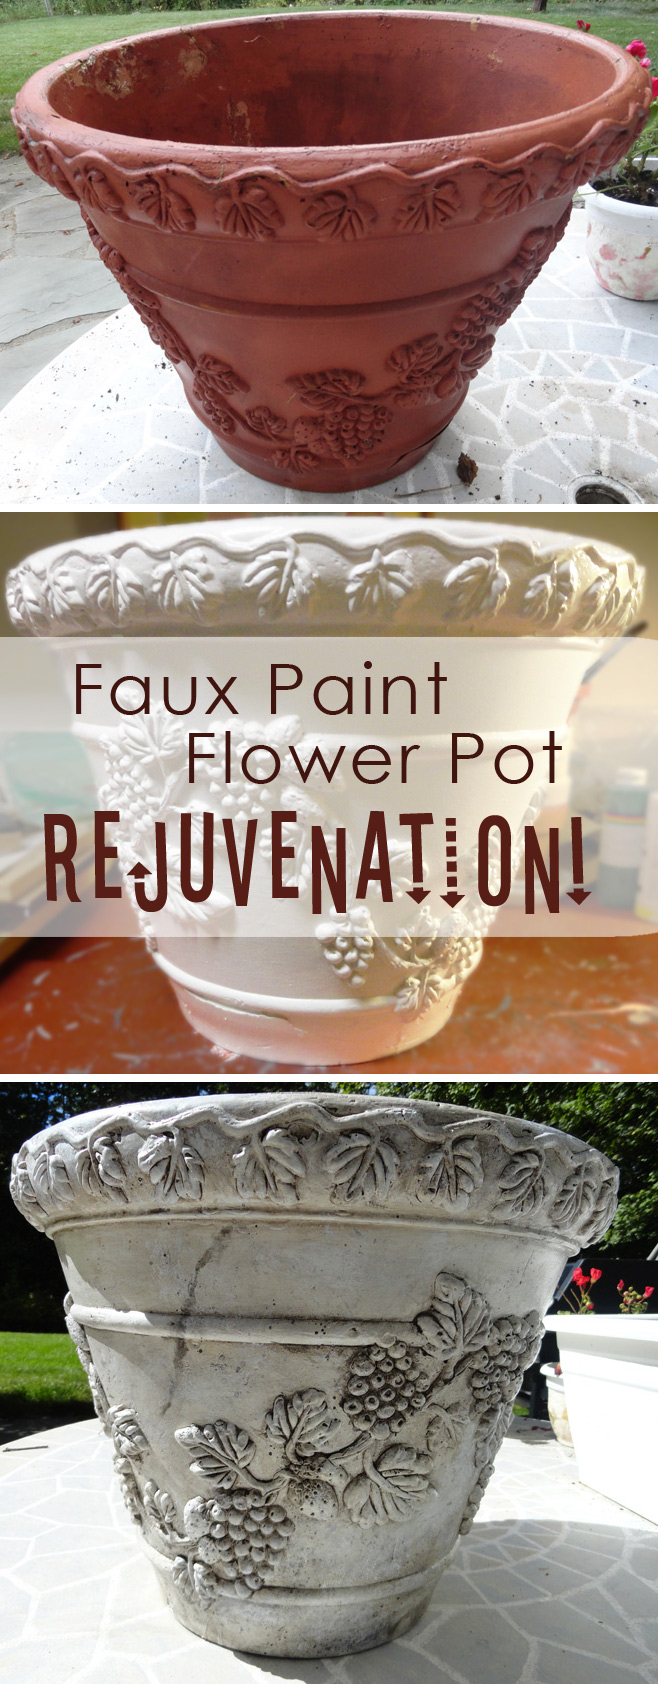
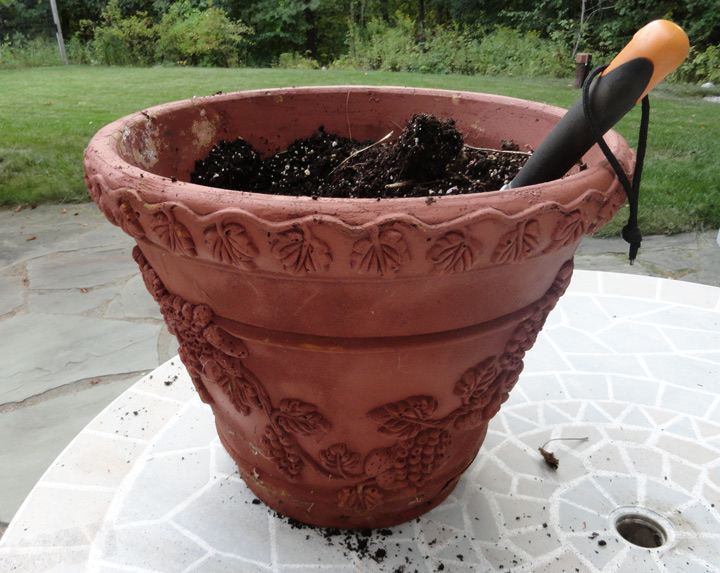
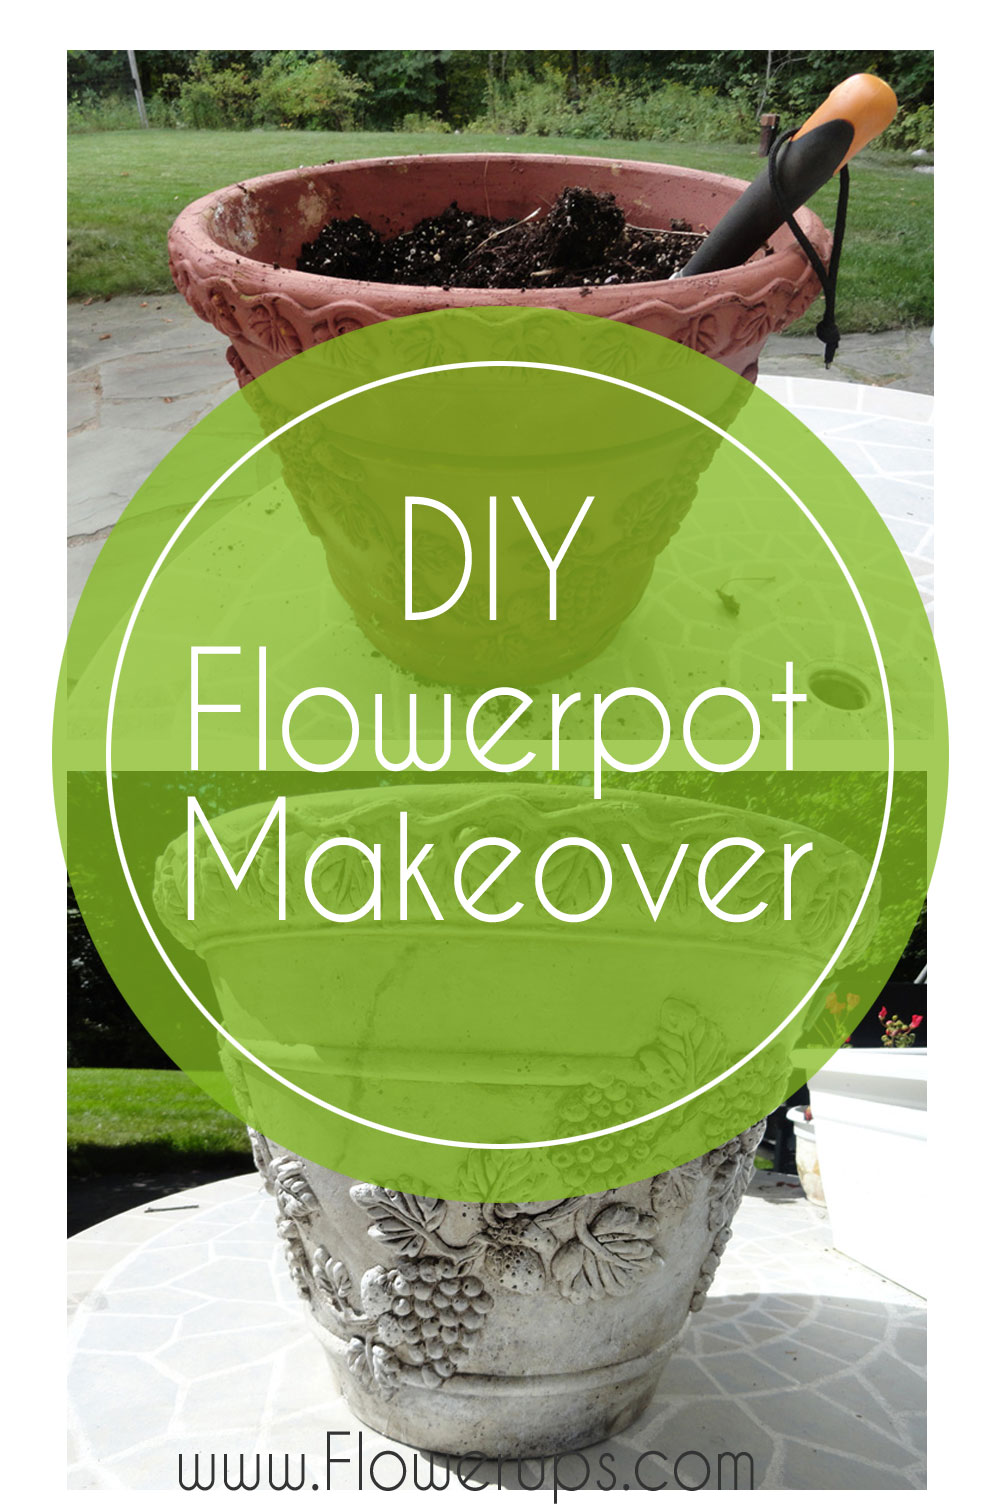
Do you have an old, ugly flower pot? This old planter is at least 10 years old. It is one of those foam flower pots with a thin coating of faux terra cotta. It is old, cracked, flaking, and the terra cotta is wearing off. Not to mention, it is just plain ugly. This flower pot just looks so very ’90s.
I finally got sick of this planter on my front steps, and was going to throw it away. It takes a lot for me to throw anything away, let alone something for gardening! So, I decided to try to rejuvenate it before tossing it. I didn’t know if it was going to work, and if this planter was salvageable, but I had to try!
At first I thought I would just clean it up and paint it white. Better than nothing, right?
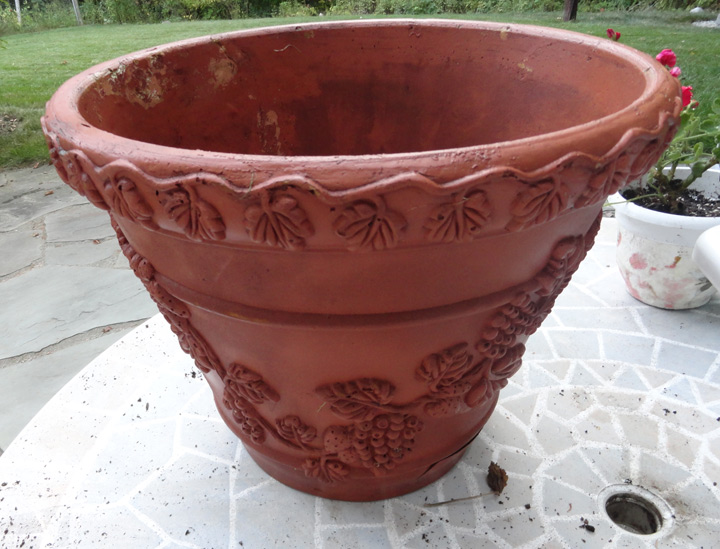
First, I cleaned the planter up by scrubbing it with soap, water and a brush.
Then, the flower pot was primed with spray paint primer. And, finally, I painted it it white with craft paint.

Sigh. Nope, still really ugly. That is a picture of a really ugly flower pot.
I decided to give it one more try before throwing the planter away. I would embrace its flaws and cracks! You know, just how we embrace our own flaws, and highlight them to enhance our beauty, letting our inner beauty shine through, right?
I decided to faux paint it and try to make it look like old, cracked stone. Why not?
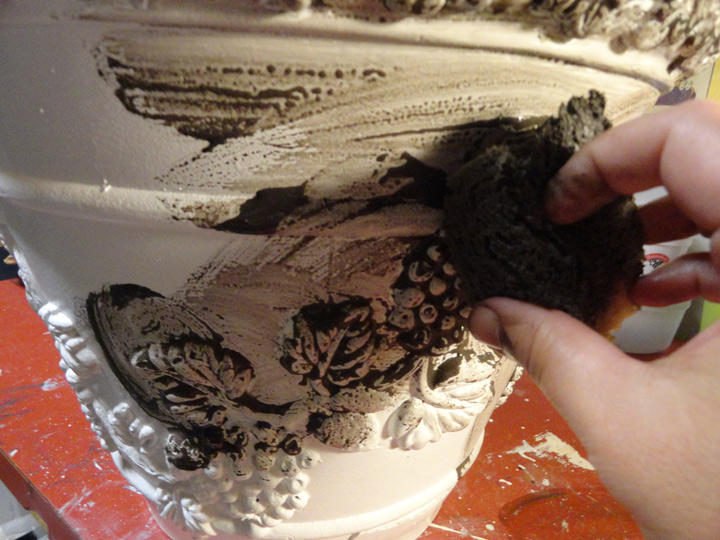
I mixed some brown and black craft paint with water, to make it very thin. Then, applied the paint to the flower pot with a wet sponge. I would recommend wearing gloves for this step, since my hands had paint on them for a week!
After applying the paint, I dabbed it off with a rag.
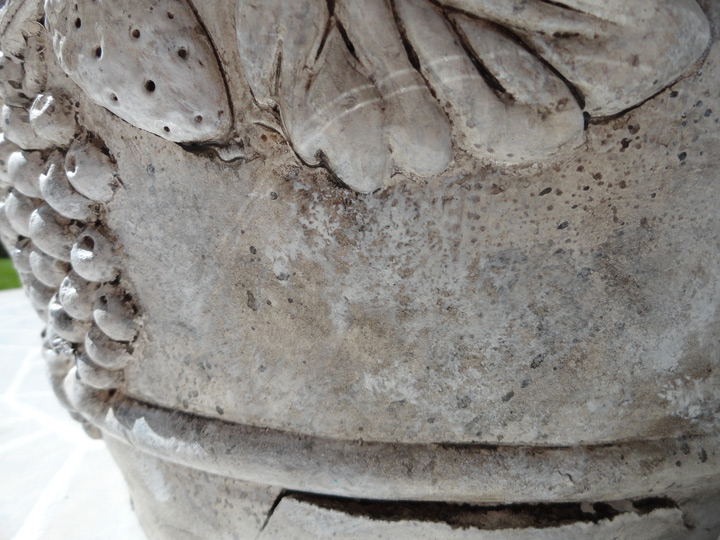
Then, I flicked drops of the watered brown paint onto the planter. This is done by filling one small paintbrush with the watered down paint, then tapping the paint brush with another paint brush. This flicks the drops very nicely. I did this over and over, adding many layers of droplets. I even made sure to get the brown paint glaze into the existing cracks and bumps and really emphasize them.
Next, I sponged on some white paint. Then rinse and repeat! I did this process about 4 or 5 times and layered the paint many times. The trick to sponge painting and faux painting is layers and layers of similar colors in very irregular patterns. This adds depth and realism to the final product.
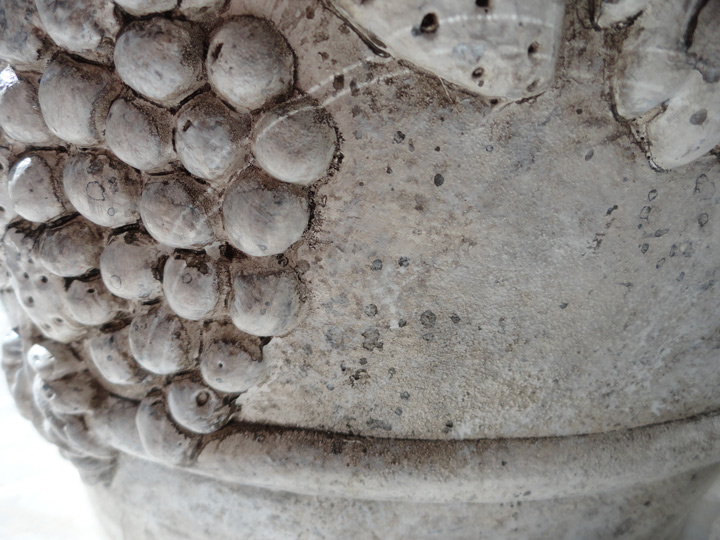
For fun, I painted some fake cracks on the flower pot with the brown glaze. I did this in a couple of layers, too.
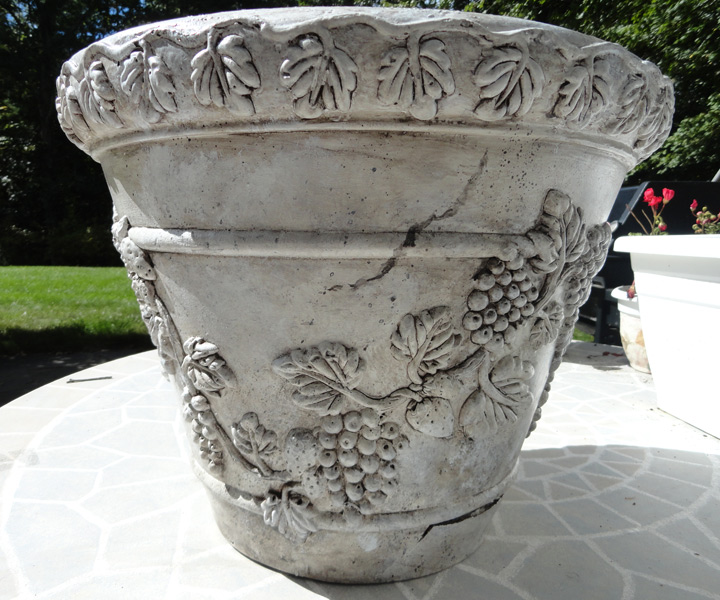
And, you know what? I don’t hate this flower pot any more!
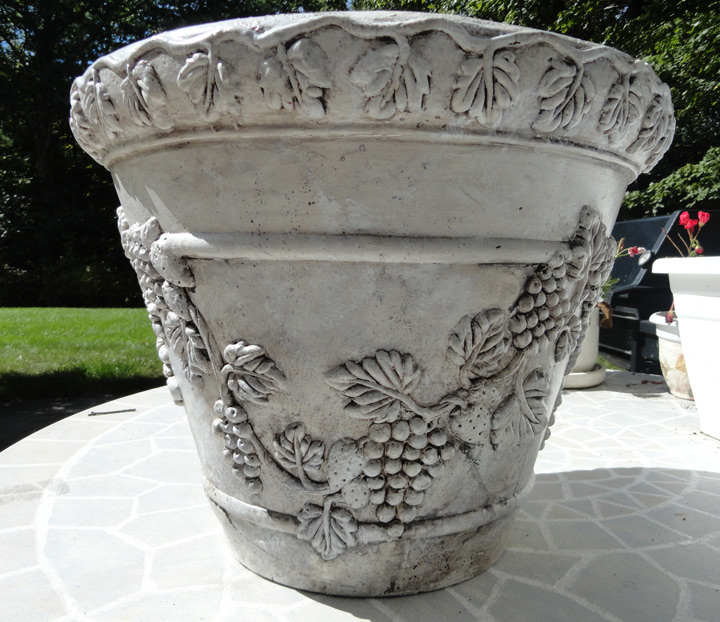
Finally, I finished it with Krylon Crystal Clear Finish. It is for both indoor and outdoor use, so hopefully, it will protect the flower pot’s new paint job outdoors! I wish I could take a perfect picture, because this garden planter looks gorgeous in real life!
Rosa
Very cool!! I think I’ll try this! Thanks for sharing!
Flowerups
Thanks! Glad you liked it!