
Well, for my first round of product photos for the leather hanging planters, I searched around the internet to see how other sellers got those clear, gorgeous product photos. Unfortunately, I don’t have a great camera. In fact, the best one in the house is probably on my iPhone. I also didn’t want to spend much money for my first go-round.
I rigged up some poster board on the clothesline on the porch, and had at it. The photos of the planters turned out o.k., but needed a lot (A LOT) of Photoshop help.

I wanted to find something better than that, but still cheap. The plant hangers are pretty long (about 34 inches) so I could not use the portable little 24 inch table top studio. And, the awesome Portrait Studio with backdrops look like just what I needed, but out of my price range for now.
So, I made a trip to Dollar Tree to look around for a simple way to photograph those darn plant hangers.
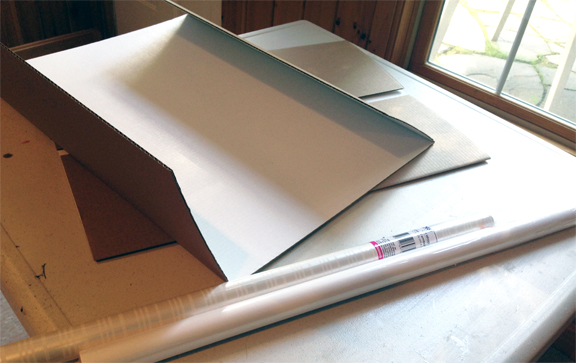
I picked up 2 tri-fold cardboard project boards and 2 rolls of wrapping paper. That’s it. I thought I would have the rest of the items I needed at home.
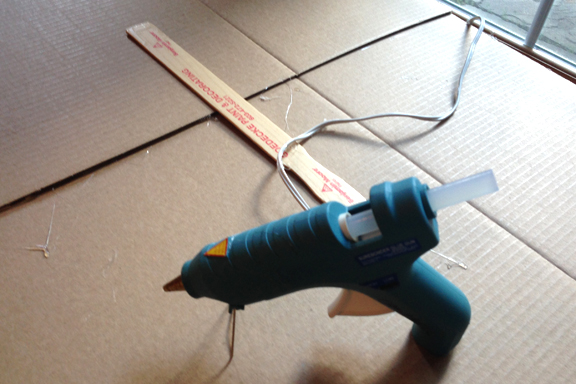
First, I cut one of the boards down a little, so I would be able to reach the top of it when the 2 were glued together and placed on a table. Then, using a hot glue gun, I glued the 2 boards together with a 2 inch overlap. To make it more sturdy, I glued 2 paint sticks on the back and duct taped them for good measure.
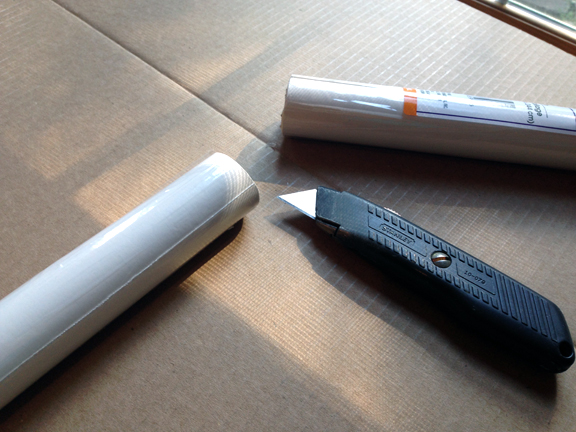
Next, I cut the wrapping paper to the width of the center panel of the tri-fold board.
The board then got placed on a little table next to a window. One of the side panels is folded forward to act as a reflector for the sunlight. The side panel nearest the window is folded back, behind the board, to let the sunlight reach the planter.
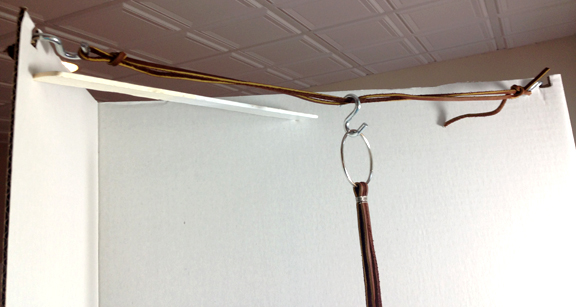
I tried to make a way to hang the planters from the board. I DO NOT recommend this. Basically, I created an out of balance falling hazard that could, might, DID, fall over many times, putting all at risk. Please, do not do this to your poor plants. or head.
So, scratch that idea.
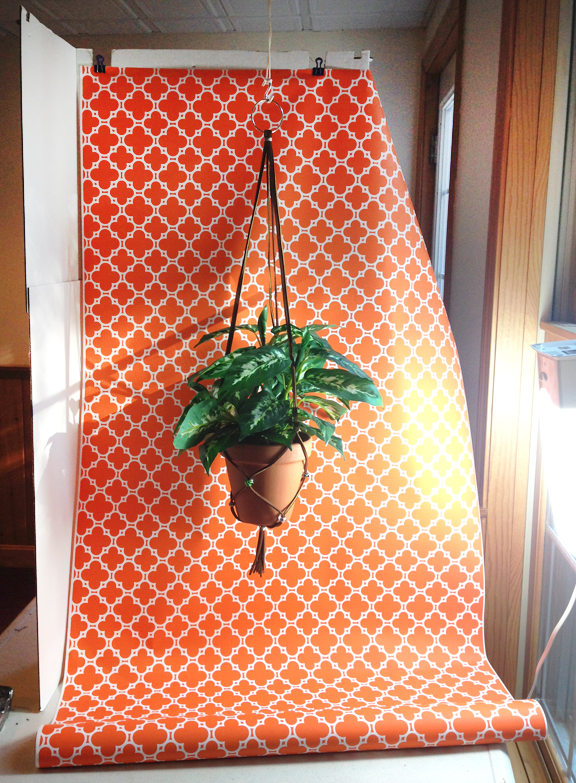
Instead, I hung the plant hanger from the ceiling.
The wrapping paper then got clipped to the back of the board using binder clips. I also bought white paper so I can do the typical white background. But, looking around Etsy, I did get a little bored of the just white backgrounds, so I wanted to try something fun. Well, it’s certainly different!
The paper is left long, to create a continuous line of paper between the back wall and the table. One issue is that the wrapping paper from the store was very thin and wrinkled easily. I don’t think it will last that long, so I might invade my fabric stash the next time around.
As you can see, I am cheating here, and using a light I had, because by the time I had gotten this far, the sun had moved away from the window.
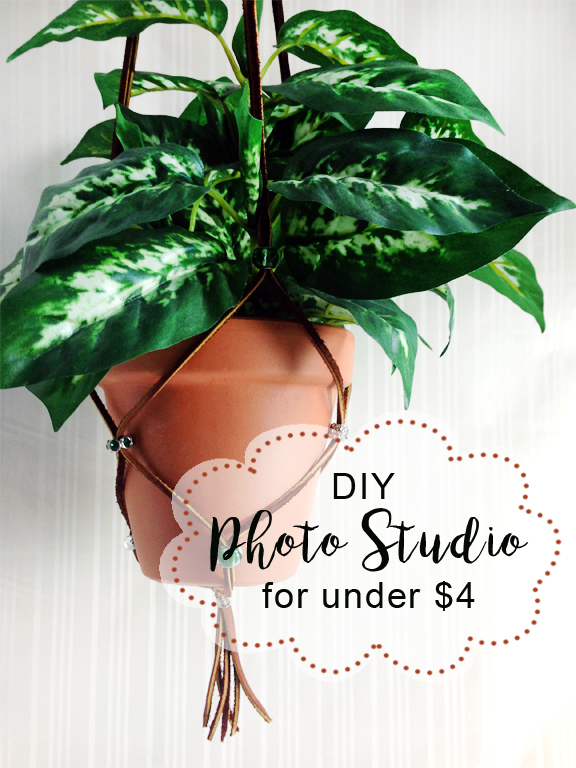
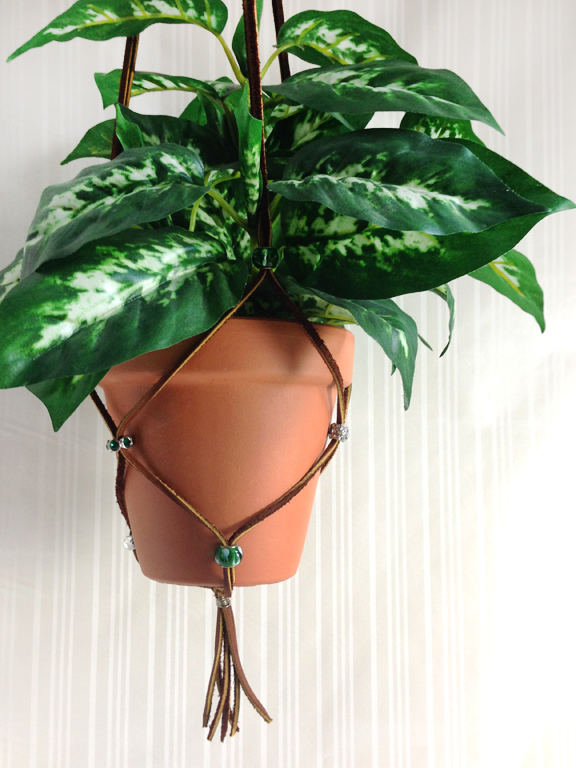
The little, $4 photo studio is done! The light is still uneven, I either need better sunlight, or a better reflector. On the next trip to Dollar Tree, we’ll see what I can find.
Yeah, I know it’s probably too loud for Etsy, but I love it!
Lessons learned:
- Do not hang things, like hanging planters, from the top of this contraption
- This worked pretty well, it was easy to hang and change the backdrops
- The set-up is small and portable
- The light is pretty uneven – I have to figure out a way to reflect it better, or get some lights
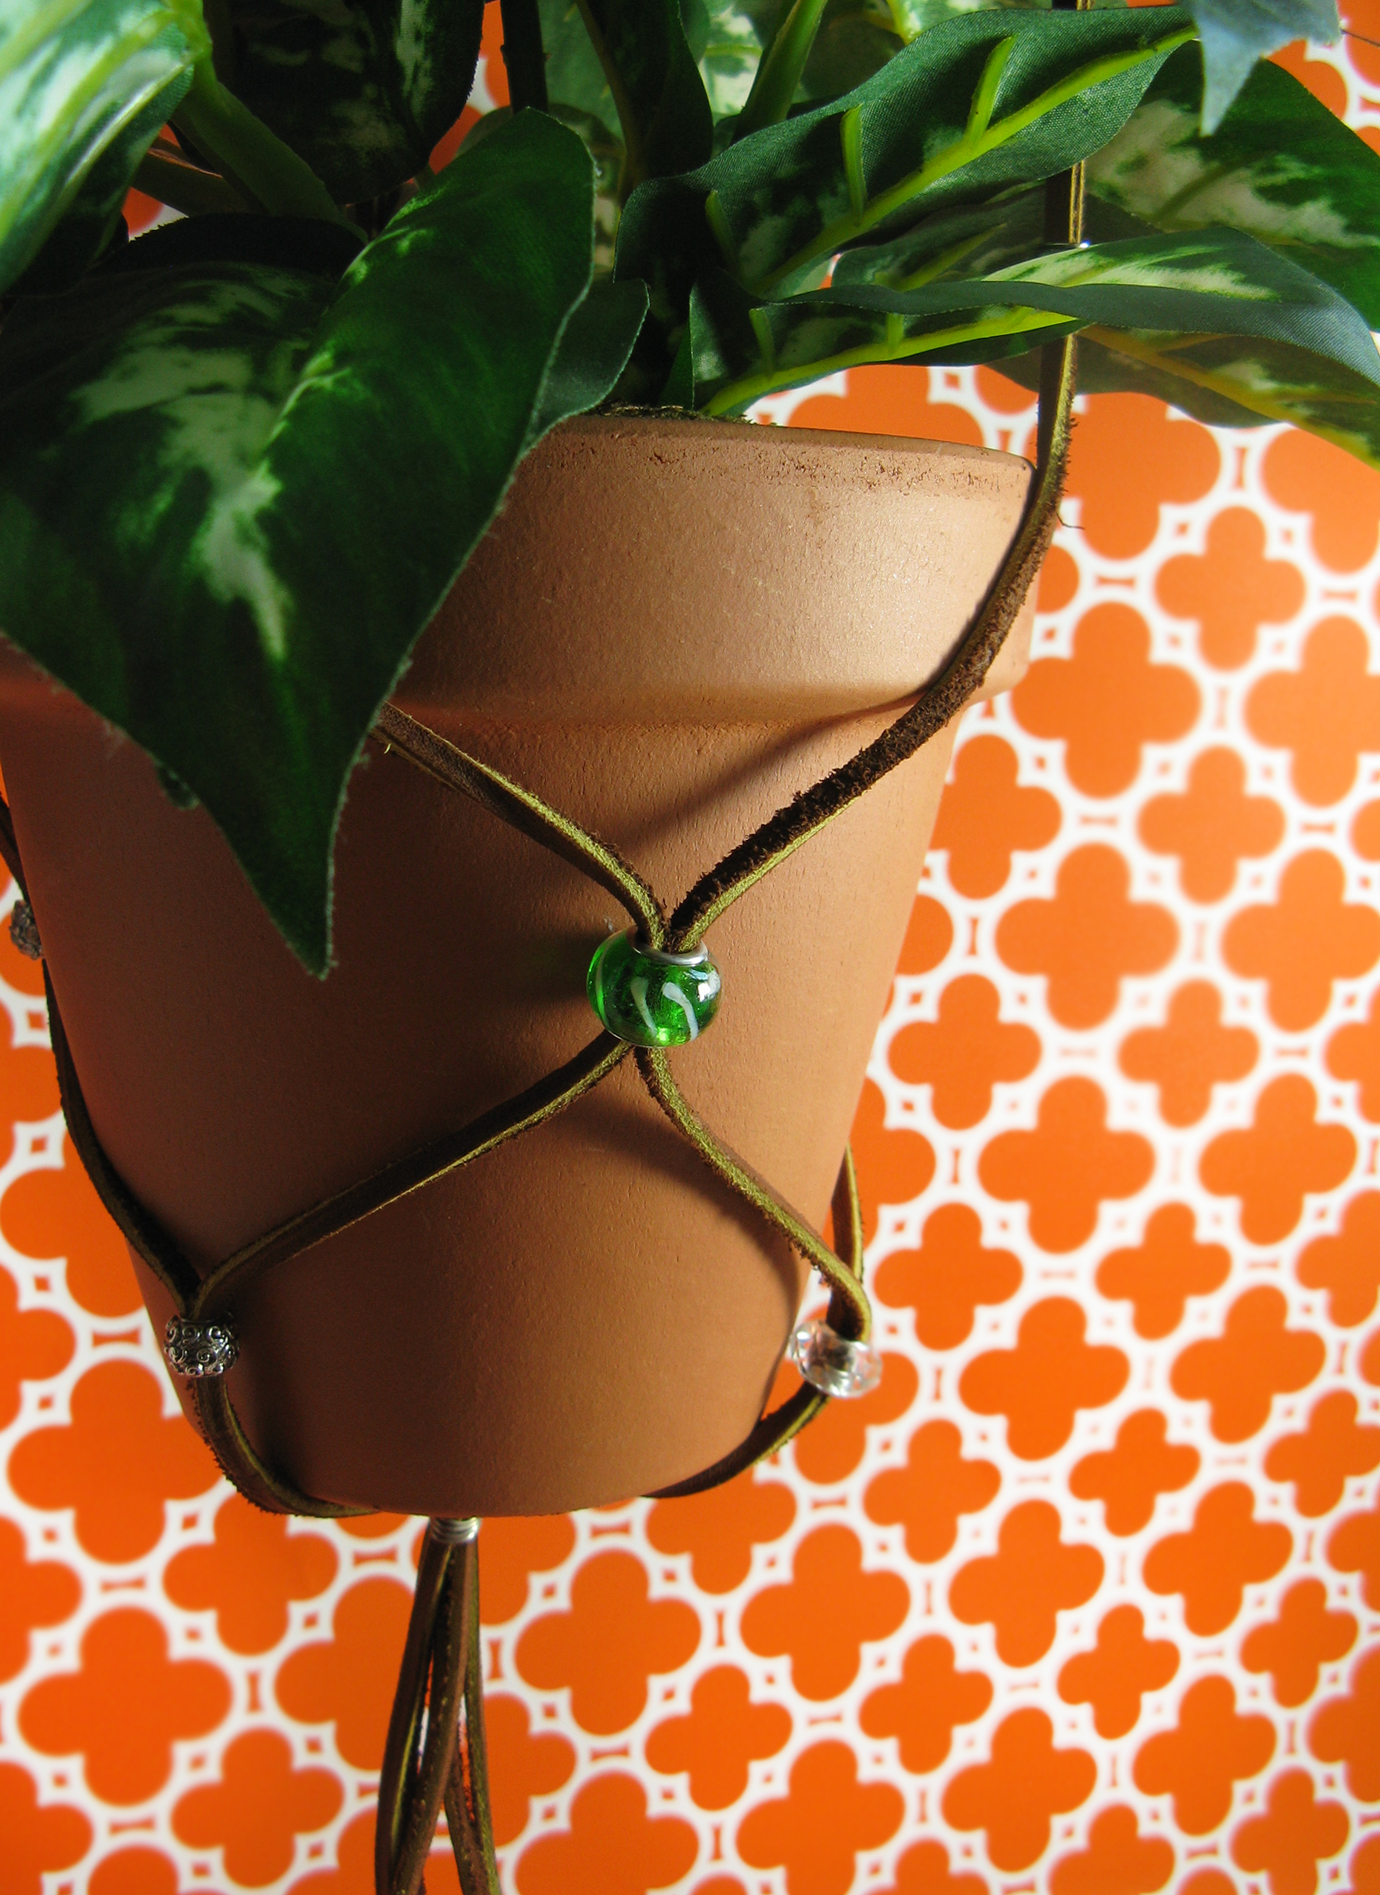
- Vertical stripes and patterns are pretty difficult to use, since they will show any contortion of the picture
- It is difficult to get the background out of focus and the planter in focus with an iPhone and with the background so close to the planter.
So, I will probably use this set-up again with some tweaking, but I still want the Portrait Studio with backdrops!